 Save
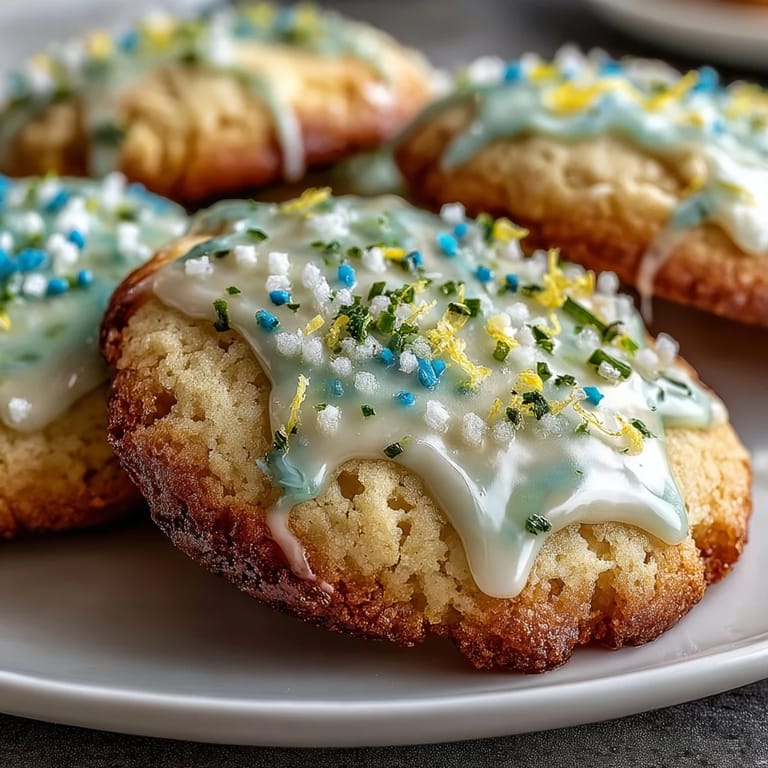
Save The scent of lemon drifting from my oven always signals that spring is peeking in. One morning, I found myself absentmindedly zesting lemons while a gentle breeze knocked pastel petals from the window box onto my kitchen counter. A leftover roll of parchment paper yielded just enough for the batch, so I felt slightly triumphant arranging dough balls like little yellow gems. My playlist was a mix of old jazz and birdsong outside, and I laughed when I got glaze droplets everywhere—proof that perfection isn’t the goal. These cookies emerged just when the sun started warming the kitchen tiles under bare feet.
I remember making these lemon sugar cookies for a last-minute spring brunch when my neighbor wandered in and couldn’t resist the colorful tray cooling on the counter. We each chose our favorite pastel shade and compared glaze strategies, laughing about who had the steadiest hand. By the end, the kitchen was dotted with sticky fingerprints and edible glitter, but every guest swore they tasted sunshine in every bite. That day, the cookies became a tiny centerpiece—more than just dessert, they sparked conversation and easy smiles. There’s something about lemon and soft colors that just invites connection.
Ingredients
- All-purpose flour: I always sift this to guarantee an even, delicate crumb; skipping this step can result in dense cookies.
- Baking powder: Just the right lift—too much and the cookies puff up unevenly, so measure carefully.
- Fine sea salt: A pinch balances out the sweetness and brightens the lemon flavor noticeably.
- Unsalted butter, softened: Creaming it properly is what makes the dough light; forget to soften and you’ll wrestle with lumps.
- Granulated sugar: For that classic sugar cookie bite and crispness around the edges.
- Large egg: Acts as the binding agent but also gives the cookies tender structure—I once tried substituting and regretted it.
- Fresh lemon juice: Real lemon juice is non-negotiable here. Bottled won’t give the same zing.
- Finely grated lemon zest: The zest packs in pure lemon fragrance; microplane for best results.
- Pure vanilla extract: Rounds out the lemon and sweetens subtly throughout.
- Powdered sugar, sifted: Makes the glaze super smooth, preventing lumps.
- Milk (whole or 2%): Adjusts glaze consistency—use less for a thick finish, more for drizzly elegance.
- Fresh lemon juice (for glaze): Adds tartness to balance the sugary topping.
- Food coloring, pastel shades: Pick gentle hues—a little goes a long way for that springtime look.
Tired of Takeout? 🥡
Get 10 meals you can make faster than delivery arrives. Seriously.
One email. No spam. Unsubscribe anytime.
Instructions
- Get your oven ready:
- Turn the oven to 350°F (175°C) and line two baking sheets with parchment. It’s always soothing to peel off a fresh sheet for cookies.
- Mix up the dry:
- In a medium bowl, whisk flour, baking powder, and salt with a quick flick of the wrist until evenly distributed—listen for the soft swish.
- Cream butter and sugar:
- Beat softened butter with granulated sugar until pale and fluffy. It’s worth pausing just to inhale the aroma before moving on.
- Add wet ingredients:
- Drop in the egg, lemon juice, zest, and vanilla. The zest releases bursts of citrus as you mix; watch for the shade to deepen slightly.
- Combine everything:
- Slowly blend dry mix into the wet with gentle strokes, being careful not to overwork; the dough should look soft and a bit sticky.
- Shape dough:
- Scoop tablespoon-sized balls, spacing them out, and flatten gently—my palm always leaves a faint dimple in the middle.
- Bake and cool:
- Let bake for about 10–12 minutes, until just golden at the edges. Wait 5 minutes before transferring to a wire rack so they set without breaking.
- Make the glaze:
- Whisk powdered sugar, milk, and lemon juice in a bowl. Adjust with milk for texture; listen for the quiet rhythm of the whisk as it smooths out.
- Tint glaze:
- Split into small bowls and add a single drop of pastel color, stirring gently to keep the hues light and airy.
- Glaze cookies:
- Once cooled, dip or drizzle each cookie with pastel glaze. I always let them dry a good 20 minutes—resist eating them too soon!
 Save
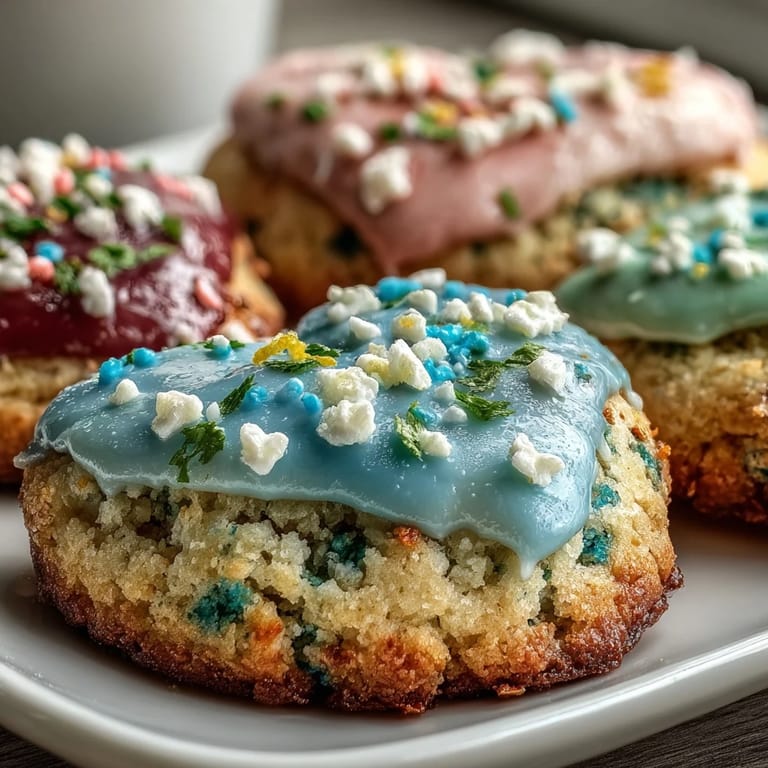
Save The first time these cookies appeared at my aunt’s table, her garden just outside was in full bloom and everyone reached for the pink ones first. For a brief second, the table fell silent except for the crackle of cookie bites, and I realized how a little citrus can gather people together. The pastel glaze matched the flowers so well, even the children believed the cookies were tiny edible petals, and that made the day feel extra magical.
What Makes This Glaze So Irresistible
Experimenting with glaze consistency was an adventure—too thick and it sits heavy, too thin and it drips away. The secret turned out to be adding milk by the teaspoon, swirling until the spoon leaves a soft ribbon that dissolves after two seconds. Using a gentle hand with the coloring keeps things feeling fresh, never overwhelming. Sometimes the light catches the cookies and the glaze seems to shimmer. Those pastel shades really do signal that spring is in full swing.
Cookie Texture: Soft vs Crispy
Setting the oven timer is key to getting the perfect balance—too long and the edges toast, too short and you miss that delicate crumb. I once got distracted and pulled them out early, only to find they needed an extra minute to stop sticking. The real trick? Letting them cool on the tray before moving, as the residual heat finishes the bake without drying them out. If you like extra softness, make sure not to flatten the dough too much—leave a bit of height. It’s all about watching, not just timing.
Last-Minute Decorating Joys
Decorating can get wonderfully chaotic, especially when kids or friends join in and pastel sprinkles scatter everywhere. I’ve learned to keep edible flowers nearby for spontaneous flair if you want the cookies to look like they came from a fancy bakery. Glaze dries faster in a cool kitchen, so if it’s warm out, set your cookies near an open window for a breeze. Don’t be shy about mixing colors for swirled effects—the results are always beautiful and unique.
- Always let the glaze set completely before stacking the cookies to avoid smudges.
- A light dusting of edible glitter adds a cheerful sparkle.
- If you’re short on time, drizzle glaze instead of dipping—quick and equally lovely.
 Save
Save Sharing these cookies always feels like offering a piece of spring. May your kitchen fill with the brightness of lemon and the lightness of laughter.
Recipe FAQ
- → How do I get vibrant pastel glaze colors?
Use a drop of pastel food coloring for each glaze batch, mixing well until the color is evenly distributed. Add more color as needed to adjust intensity.
- → What gives these cookies their lemon flavor?
Fresh lemon juice and finely grated lemon zest are incorporated into the dough for a bright citrus taste.
- → Can I substitute butter with a dairy-free alternative?
Yes, you can use plant-based butter, but it may alter texture and flavor. Choose a butter substitute suitable for baking.
- → Are these cookies suitable for vegetarians?
Yes, the ingredients are vegetarian-friendly, but check labels to avoid unexpected additives.
- → How should I store leftover cookies?
Place them in an airtight container at room temperature for up to four days to maintain freshness and texture.
- → Can I add extra lemon flavor to the glaze?
A few drops of lemon extract can intensify the glaze's citrus notes without affecting consistency.