 Save
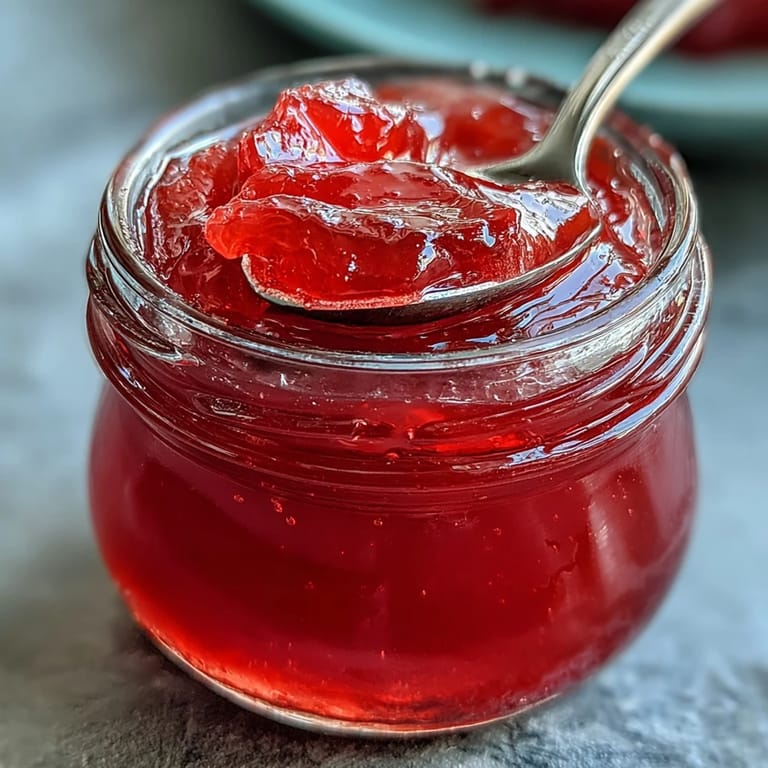
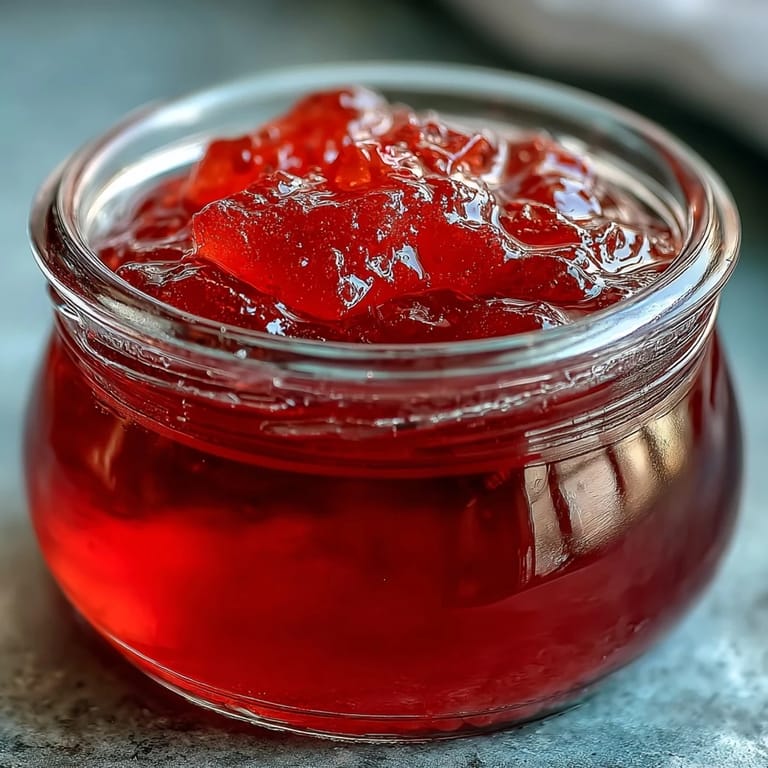
Save My neighbor handed me a bag of guavas one afternoon, still warm from her tree, and said casually, "Make something with these." I'd never worked with them before, but something about their fragrance—floral and slightly tropical—made me want to preserve them. That weekend, my kitchen filled with steam and the most unexpected aroma, and by evening, I had jars of the most stunning pink jelly gleaming on my counter. It became the thing people asked for, the gift that made them say, "You made this?"
I made this jelly for the first time during a rainy October afternoon when my kids were sick and stuck at home. They watched from the kitchen doorway as the mixture bubbled and transformed, and when the jelly finally set, we had this small victory we'd created together. Now whenever someone opens a jar, it reminds me of that quiet, strange day.
Ingredients
- Ripe guavas (1.5 kg or about 3.3 lbs): The foundation of everything—look for ones that yield slightly to pressure and smell fragrant, not hard and green.
- Water (4 cups): This seems simple, but it's what coaxes all the flavor and natural pectin from the fruit during simmering.
- Granulated sugar (4 cups): Use quality sugar since it's doing the heavy lifting in both sweetening and setting your jelly.
- Lemon juice (2 tbsp): Brightens the guava flavor and helps activate the pectin, making the difference between a loose spread and a proper jelly.
Tired of Takeout? 🥡
Get 10 meals you can make faster than delivery arrives. Seriously.
One email. No spam. Unsubscribe anytime.
Instructions
- Prepare your guavas:
- Rinse them under cool water, rubbing gently to remove any dirt. Quarter them without peeling or removing seeds—this might feel wrong, but the skins and seeds are where the pectin lives, and they'll strain out later.
- Start the first simmer:
- Drop the guava pieces into a large saucepan, pour in the water, and bring everything to a rolling boil over medium heat. You'll smell the guavas opening up, releasing that floral sweetness into your kitchen.
- Let it soften:
- Reduce the heat and let it simmer gently for 30 minutes until the fruit is completely soft and falling apart. Stir occasionally and listen for the gentle bubbling that tells you something magical is happening.
- Strain with patience:
- This is the moment that separates clear jelly from cloudy jam. Line a strainer with double-layered cheesecloth and pour the cooked fruit through, then let it sit undisturbed for at least 2 hours or overnight. The hardest part is not squeezing it, but resist—you'll thank yourself when the jelly is crystal clear.
- Measure and sweeten:
- Once you have your juice measured, pour it into a clean saucepan and add lemon juice and equal parts sugar (1 cup juice to 1 cup sugar). Stir over high heat until the sugar dissolves completely and the mixture comes to a rapid boil.
- Reach gel stage:
- Keep boiling at a rolling bubble, skimming foam as it rises, until a candy thermometer reads 220°F (104°C). This usually takes 15 to 20 minutes, and the mixture will darken slightly and thicken visibly.
- Test for doneness:
- Drop a small spoonful onto a cold plate and push it with your finger—if it wrinkles and doesn't flow back together, you've reached the sweet spot. If it's still loose, boil for another minute and test again.
- Jar and seal:
- Pour the hot jelly into sterilized jars, leaving a quarter-inch of space at the top, and seal immediately. The heat will create that satisfying pop as it cools.
- Cool completely:
- Leave the jars undisturbed at room temperature overnight before moving them to storage. This is when the final setting happens, and you'll see the jelly transition from liquid to that perfect wobble.
 Save
Save My daughter once used this jelly to make the most elaborate thumbprint cookies for a school bake sale, and it was the only thing that sold out. She realized that day that homemade preserves have a story attached to them, something store-bought versions never do. It's made her more interested in cooking ever since.
The Clear Jelly Secret
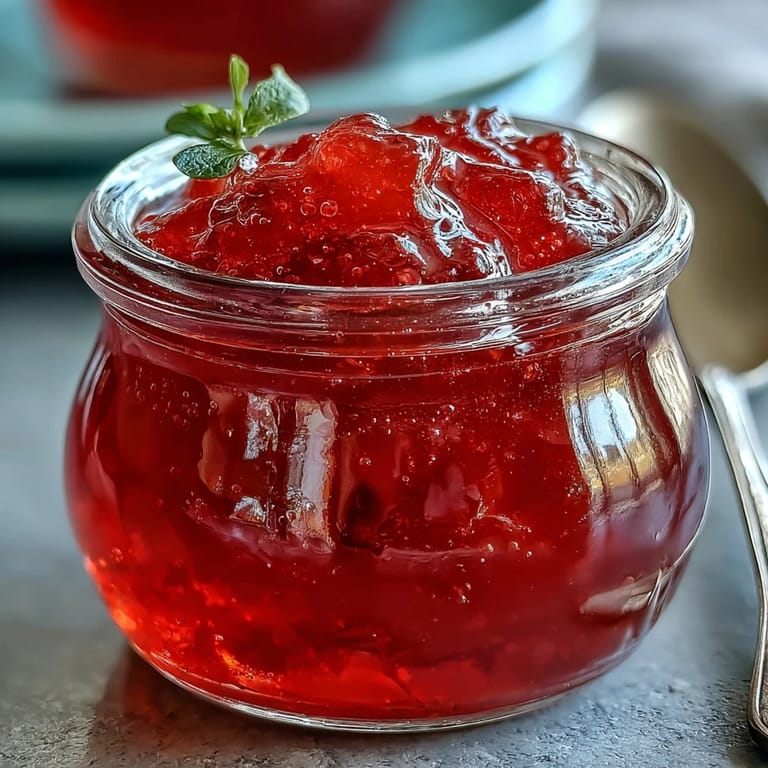
The difference between jelly and jam comes down to patience and restraint during straining. When you let gravity do all the work instead of squeezing, the result is transparent and elegant, with a light, delicate set. This is the jelly that catches light in the jar and makes people actually want to photograph it before spreading it on toast.
Storing and Using Your Jelly
Once sealed, your jelly keeps in a cool, dark pantry for months, but opened jars need to live in the refrigerator and will stay fresh for about three weeks. Beyond toast and cookies, this jelly shines as a cake glaze, a swirl into yogurt, or even a unexpected gloss for roasted ham or duck.
Making It Your Own
The beauty of guava jelly is that it's simple enough to repeat but flexible enough to experiment with. Some people add a vanilla bean or a whisper of cardamom, while others mix in passion fruit juice for complexity. Whatever you choose, this recipe gives you the foundation to make something that feels entirely yours.
- If you prefer a softer set, reduce the cooking time by a minute or two—jelly continues to set as it cools.
- Guavas vary in water content by season and ripeness, so your cooking time might shift slightly each year.
- Save a jar for yourself before giving the rest away—you'll want to savor it slowly.
 Save
Save There's something almost meditative about making jelly, the way the kitchen fills with steam and fragrance while you wait. Once you've made a batch, you'll understand why this small preserve has been cherished across cultures for centuries.
Recipe FAQ
- → How do I know when the jelly is ready?
The jelly reaches setting point at 220°F on a candy thermometer. You can also test by placing a spoonful on a cold plate—if it wrinkles when pushed with your finger, it's ready to jar.
- → Why shouldn't I press the fruit while straining?
Pressing or squeezing the fruit releases particles that make the final product cloudy. Letting it drip naturally through cheesecloth for several hours produces the clear, jewel-toned appearance.
- → Can I use underripe guavas?
Yes, slightly underripe guavas actually work well because they contain more natural pectin, which helps the preserve set properly without adding commercial pectin.
- → How long does homemade guava jelly last?
Properly sealed and stored in a cool, dark place, unopened jars will keep for up to a year. Once opened, refrigerate and use within three weeks for best quality.
- → What can I use this jelly for?
This versatile spread works wonderfully on toast, as a filling for thumbprint cookies, glazed over cakes, or as a topping for ice cream and yogurt. It also pairs beautifully with cheese boards.